
MEDIA305 Diary
Unity Catchup & ProBuilder
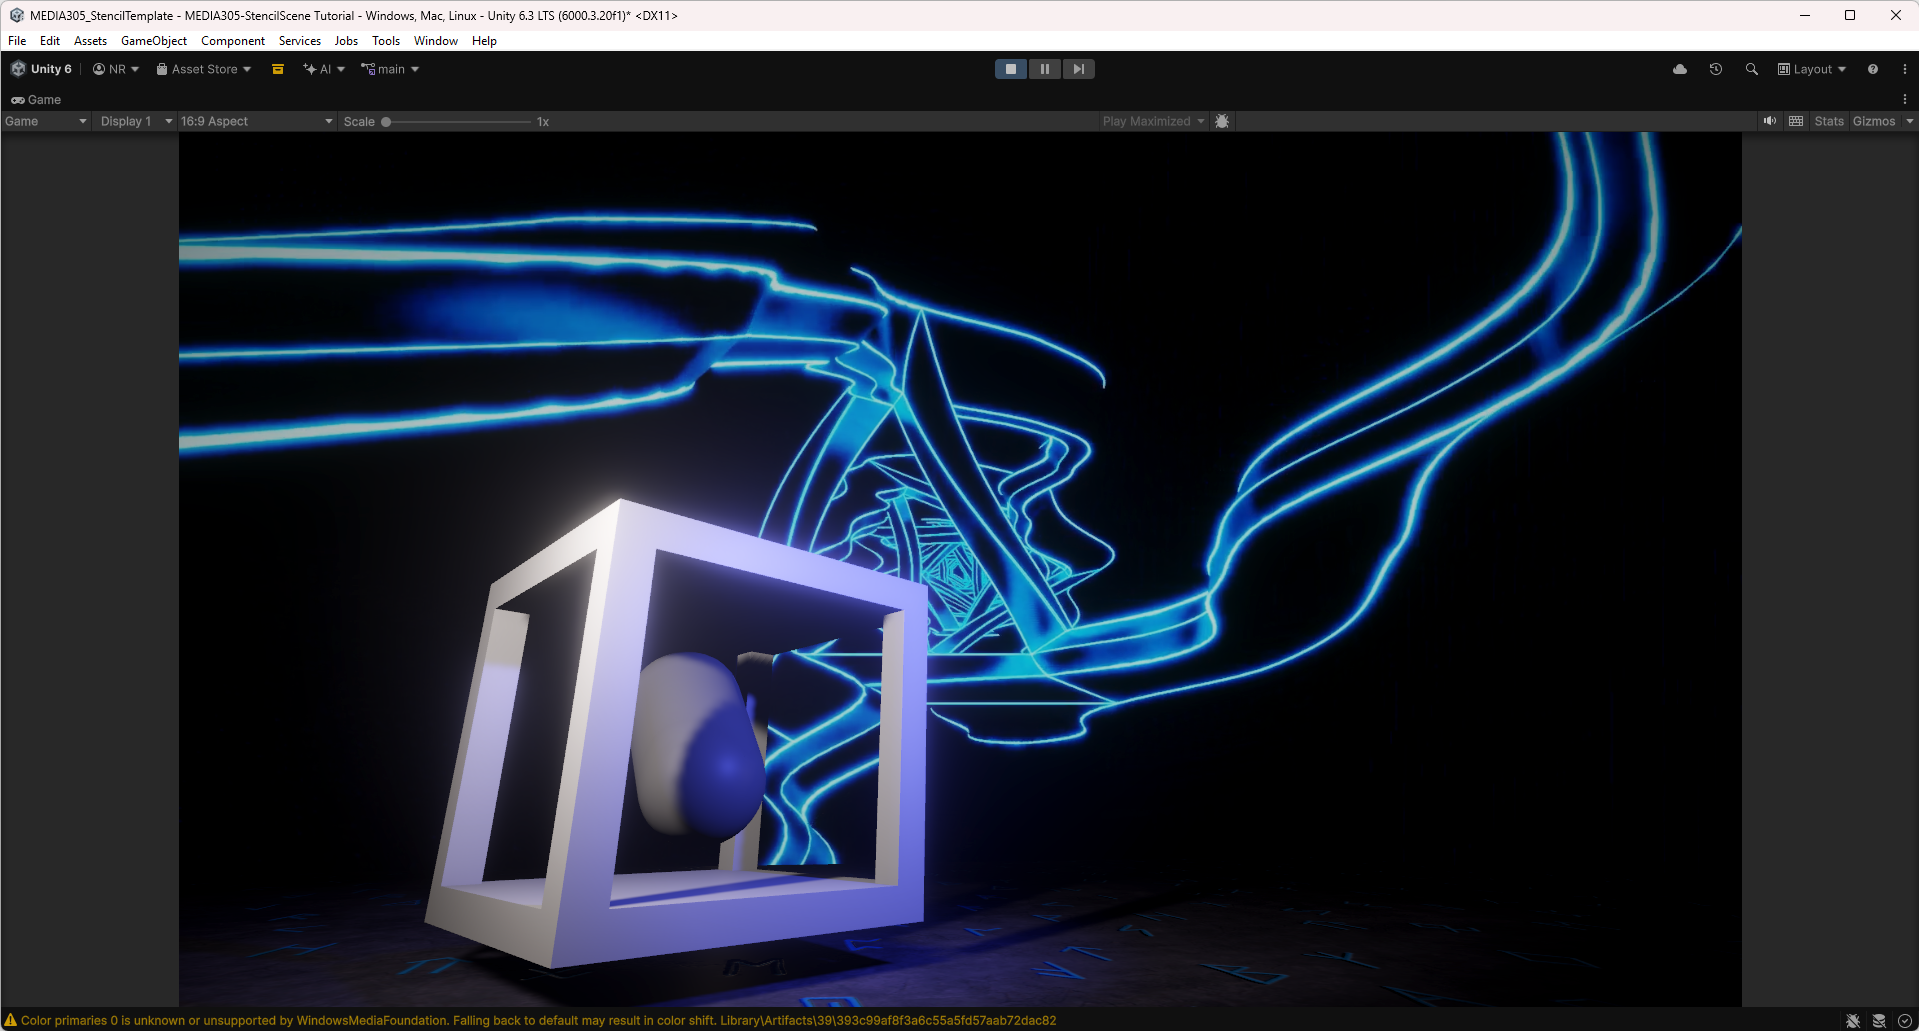
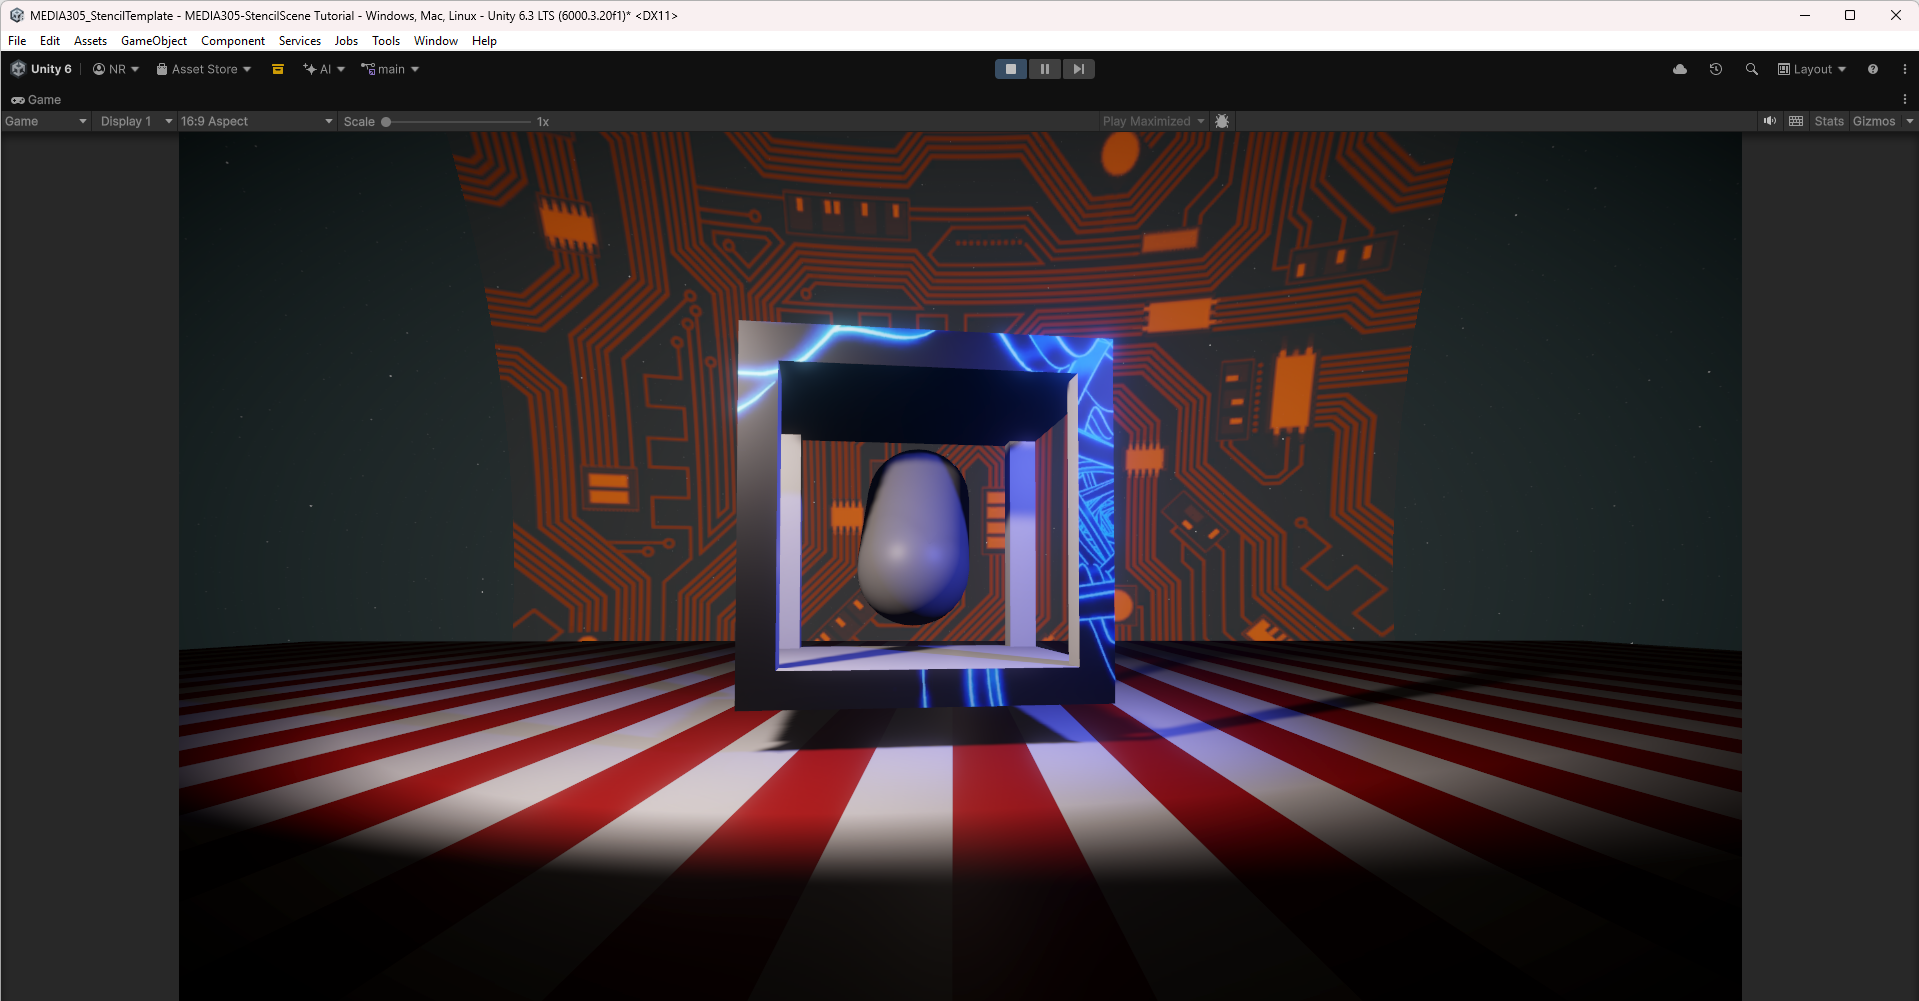
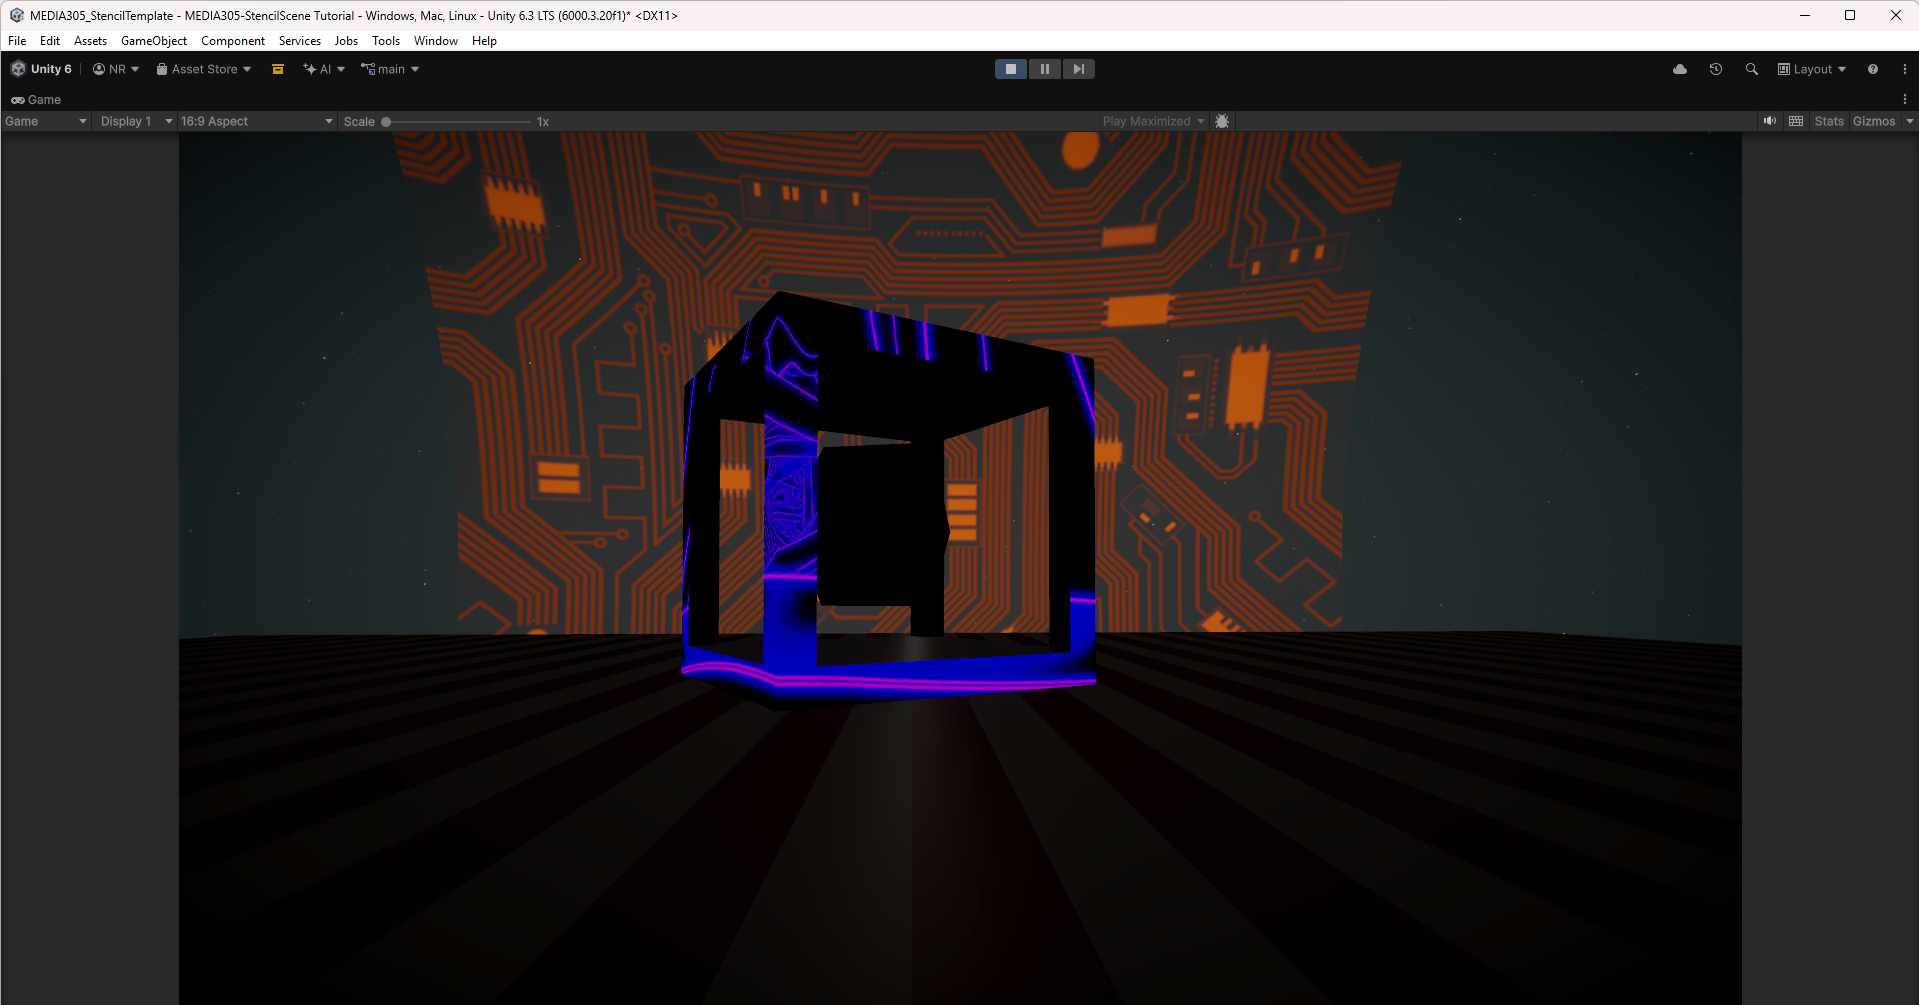
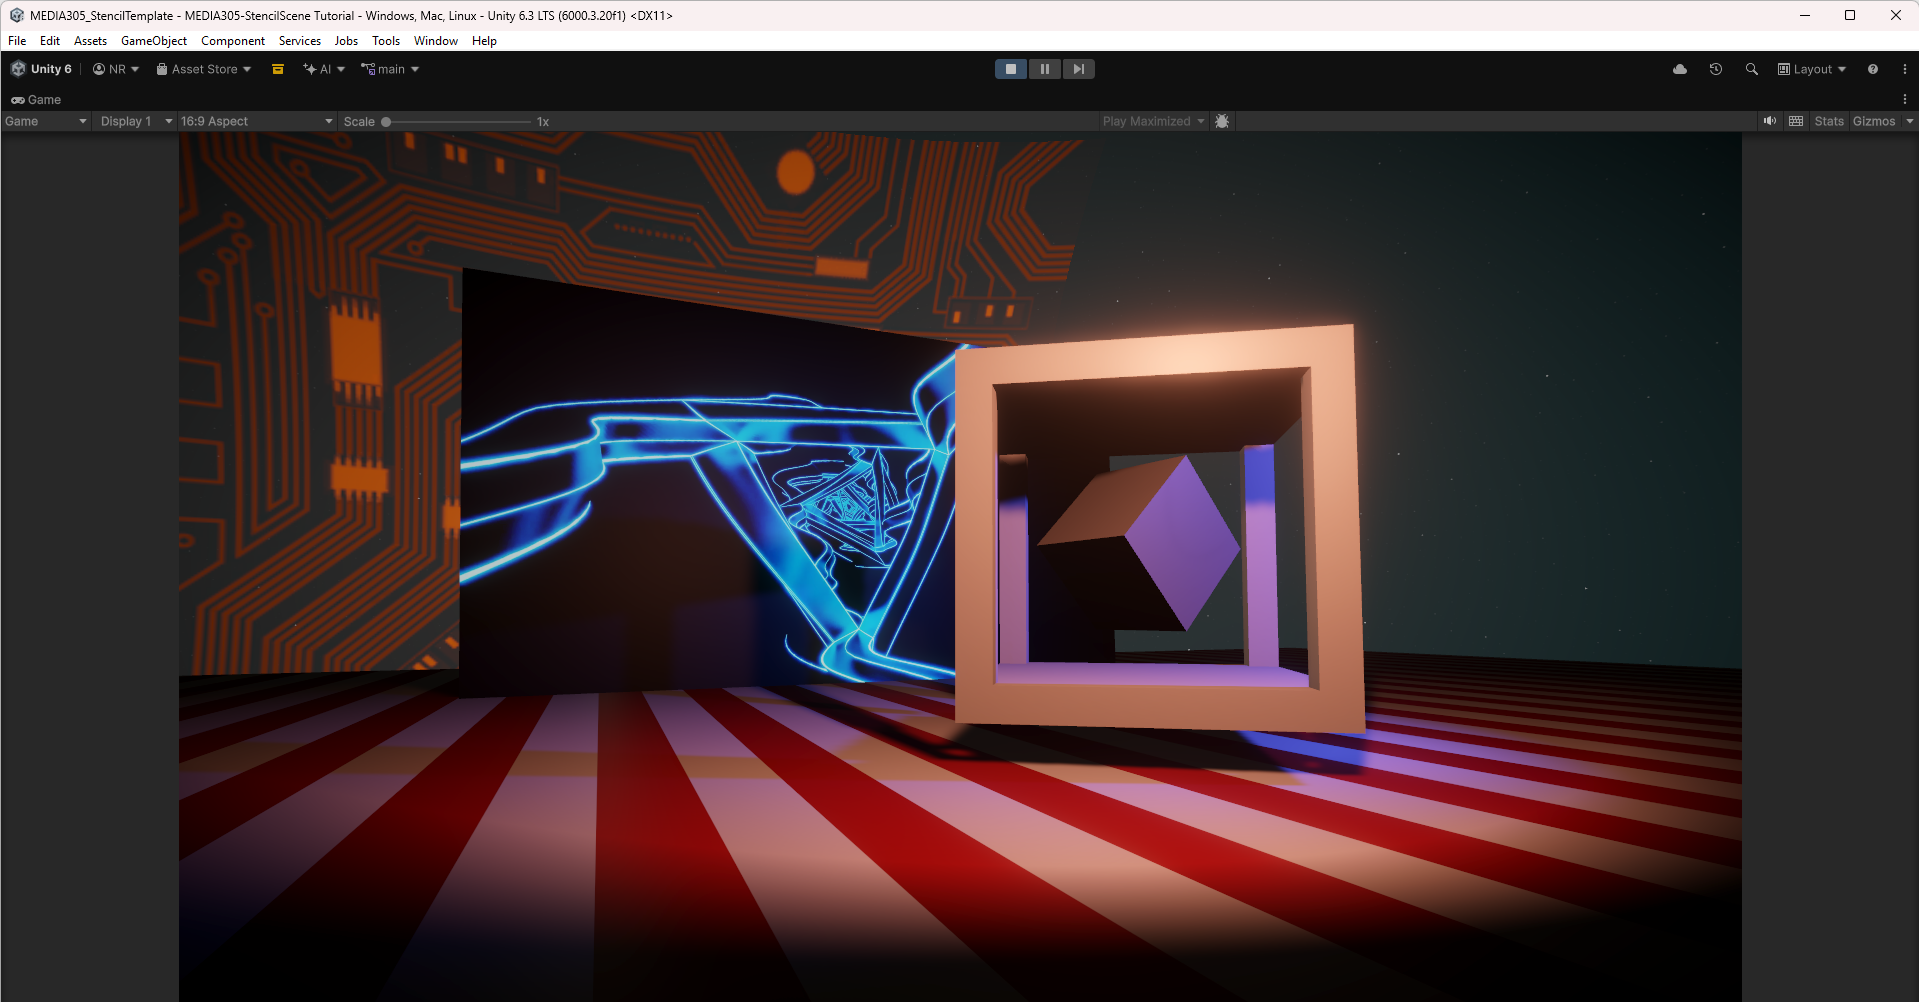
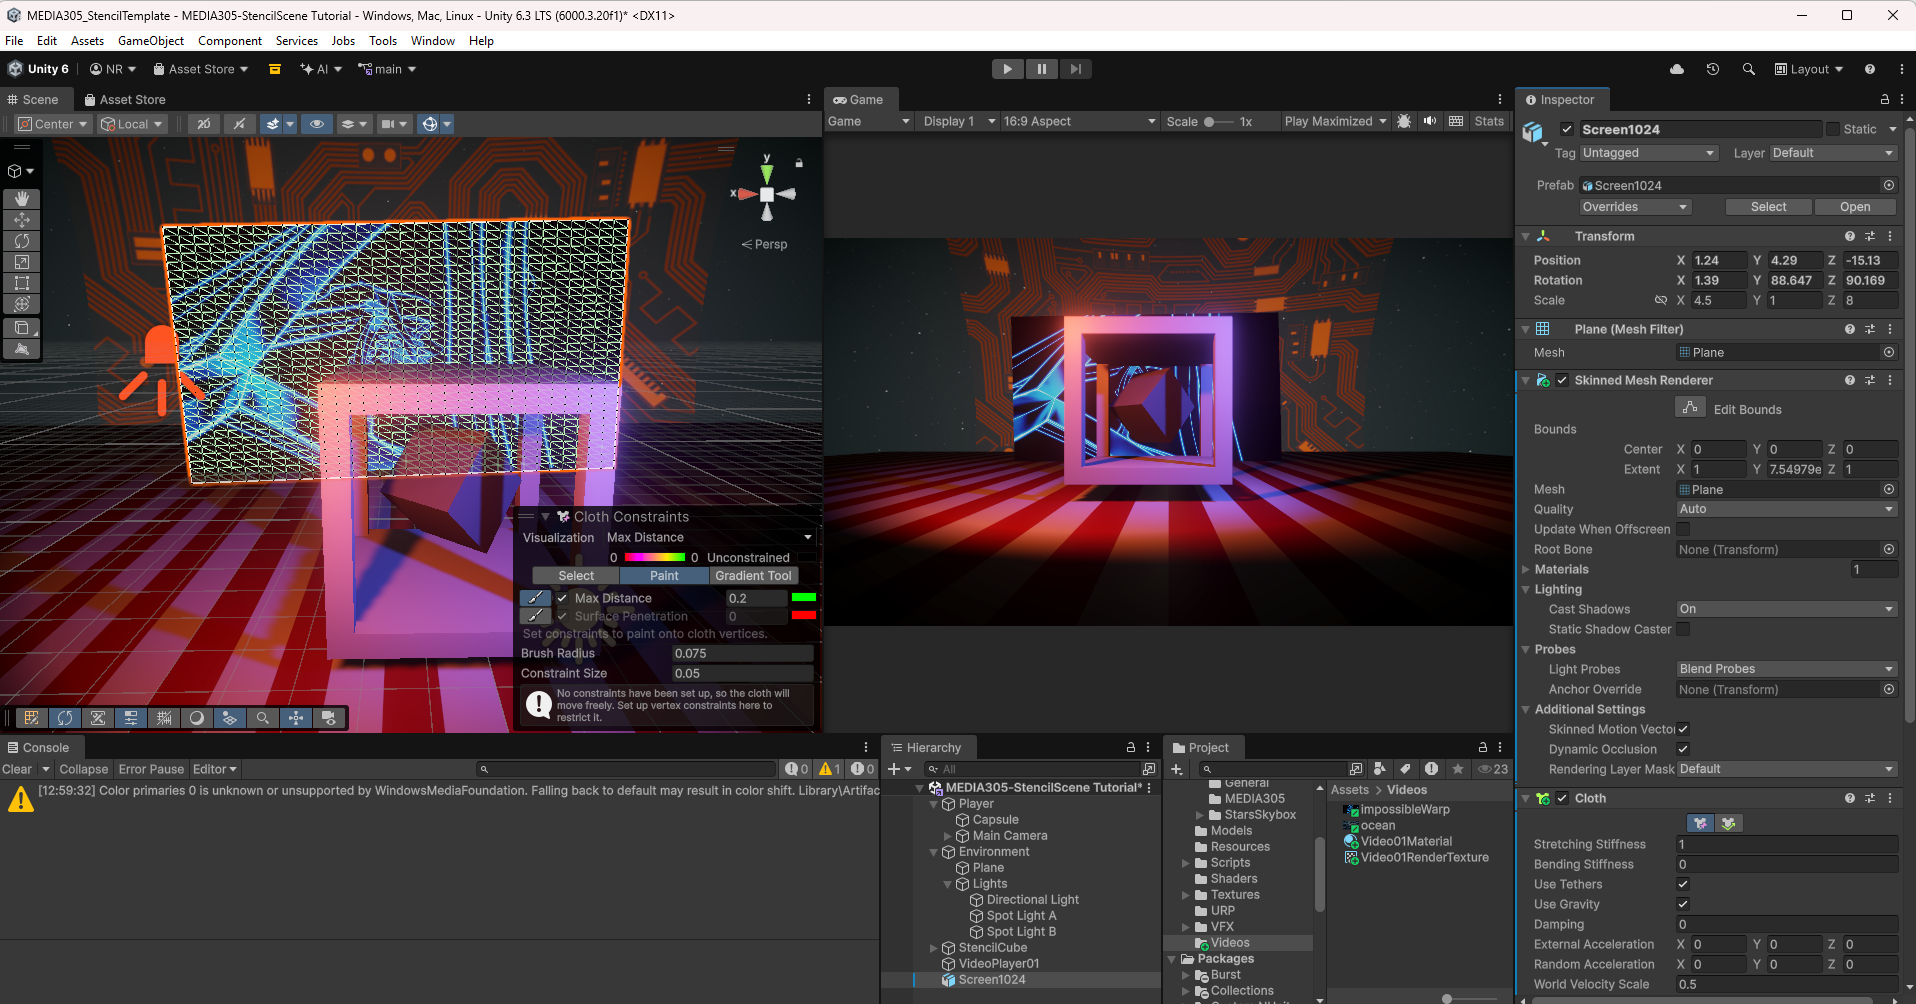
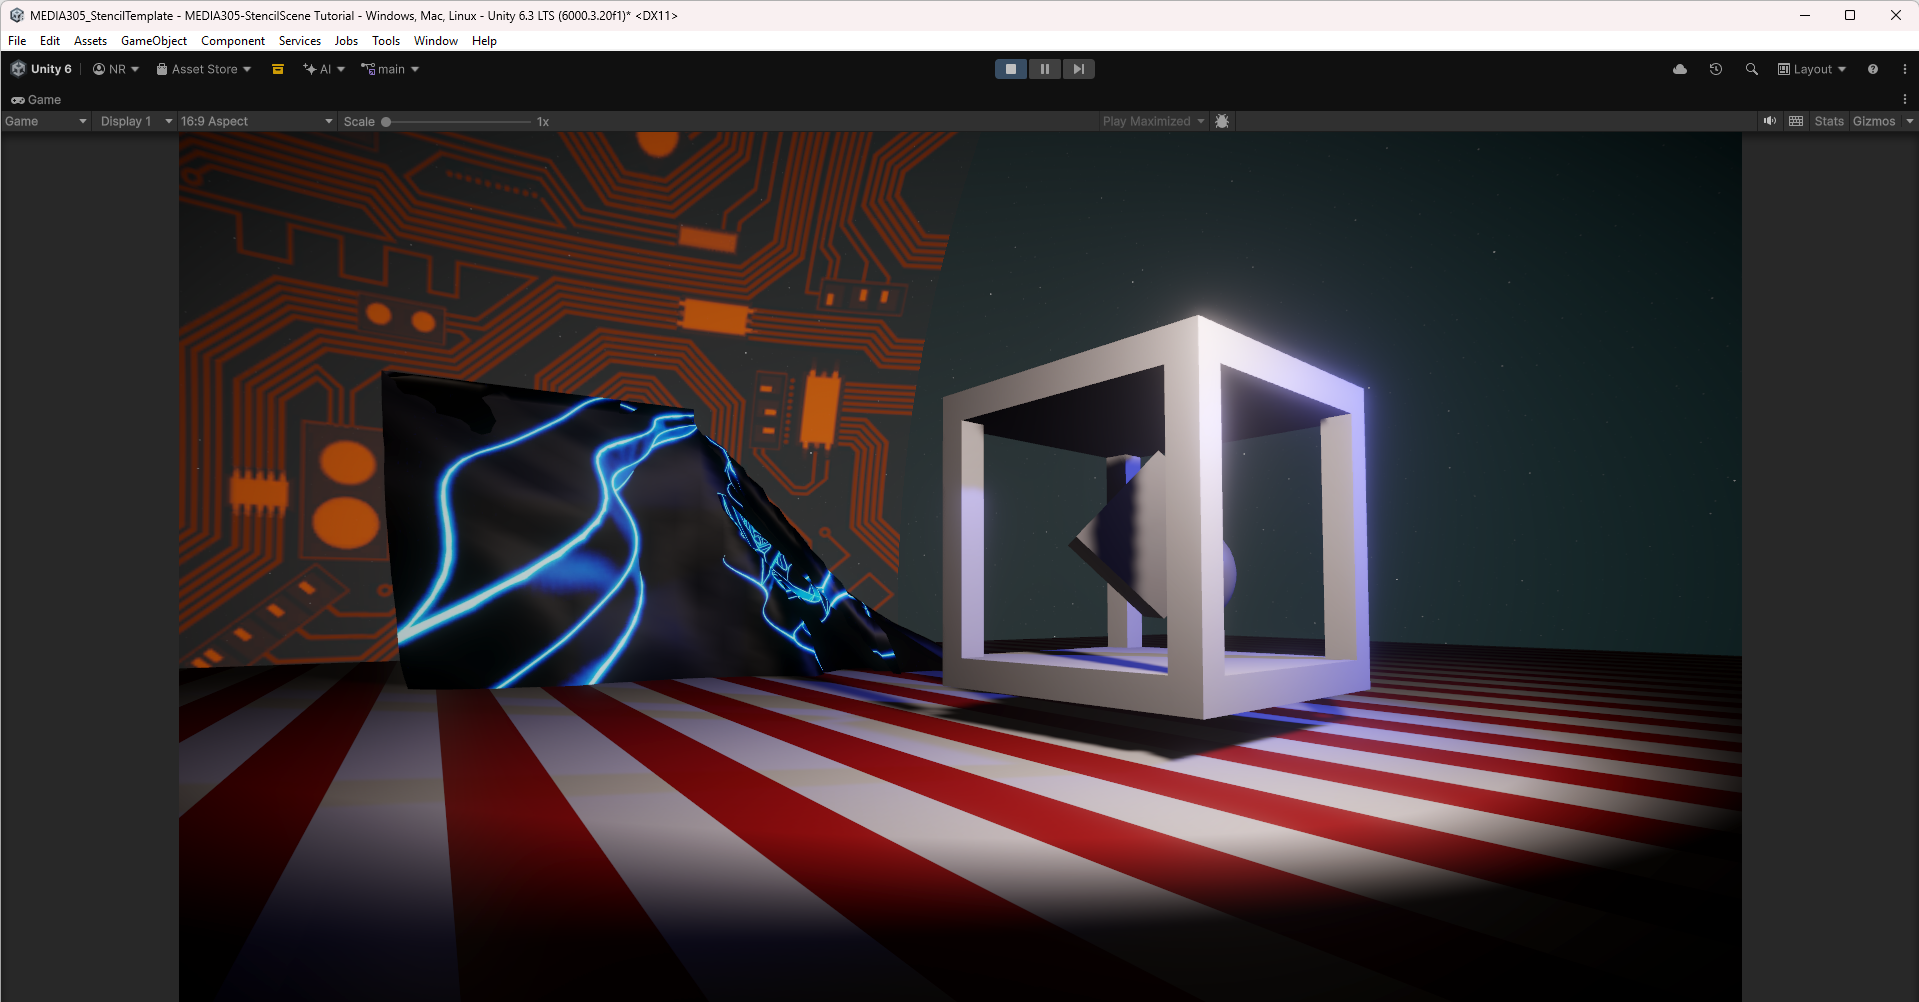
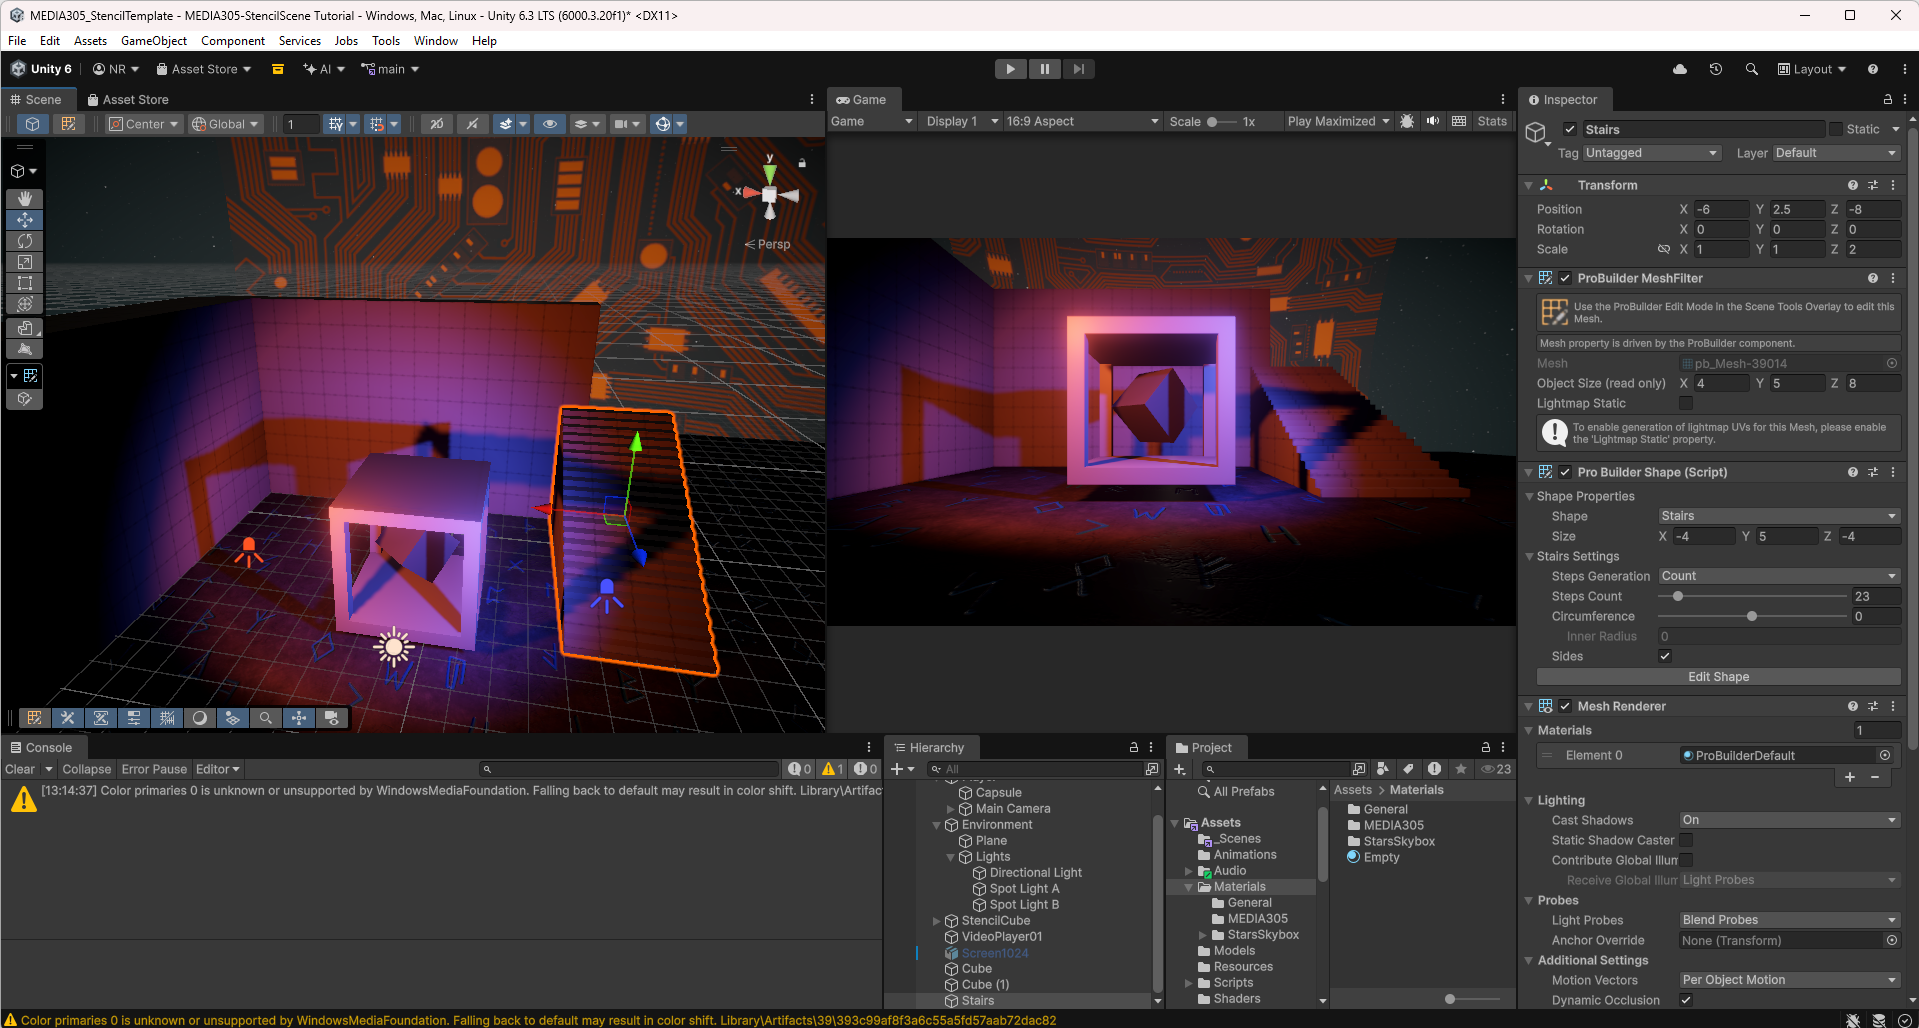
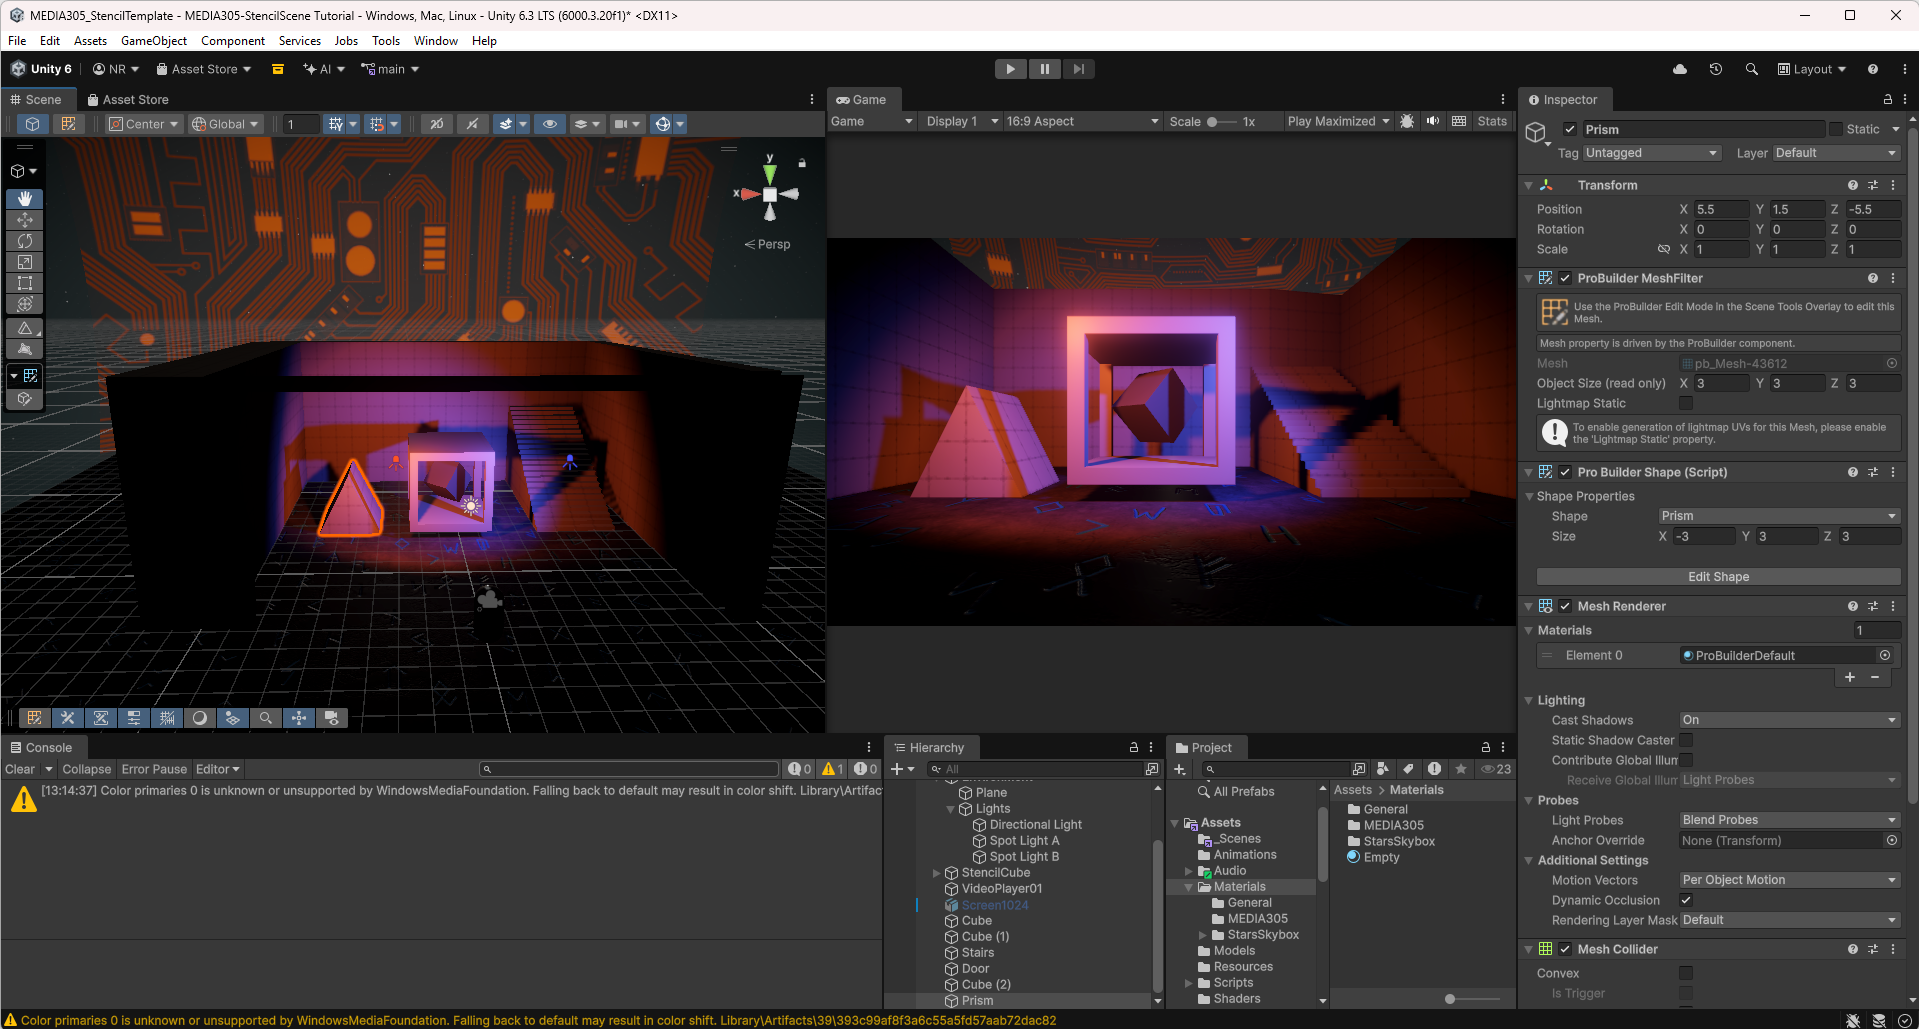
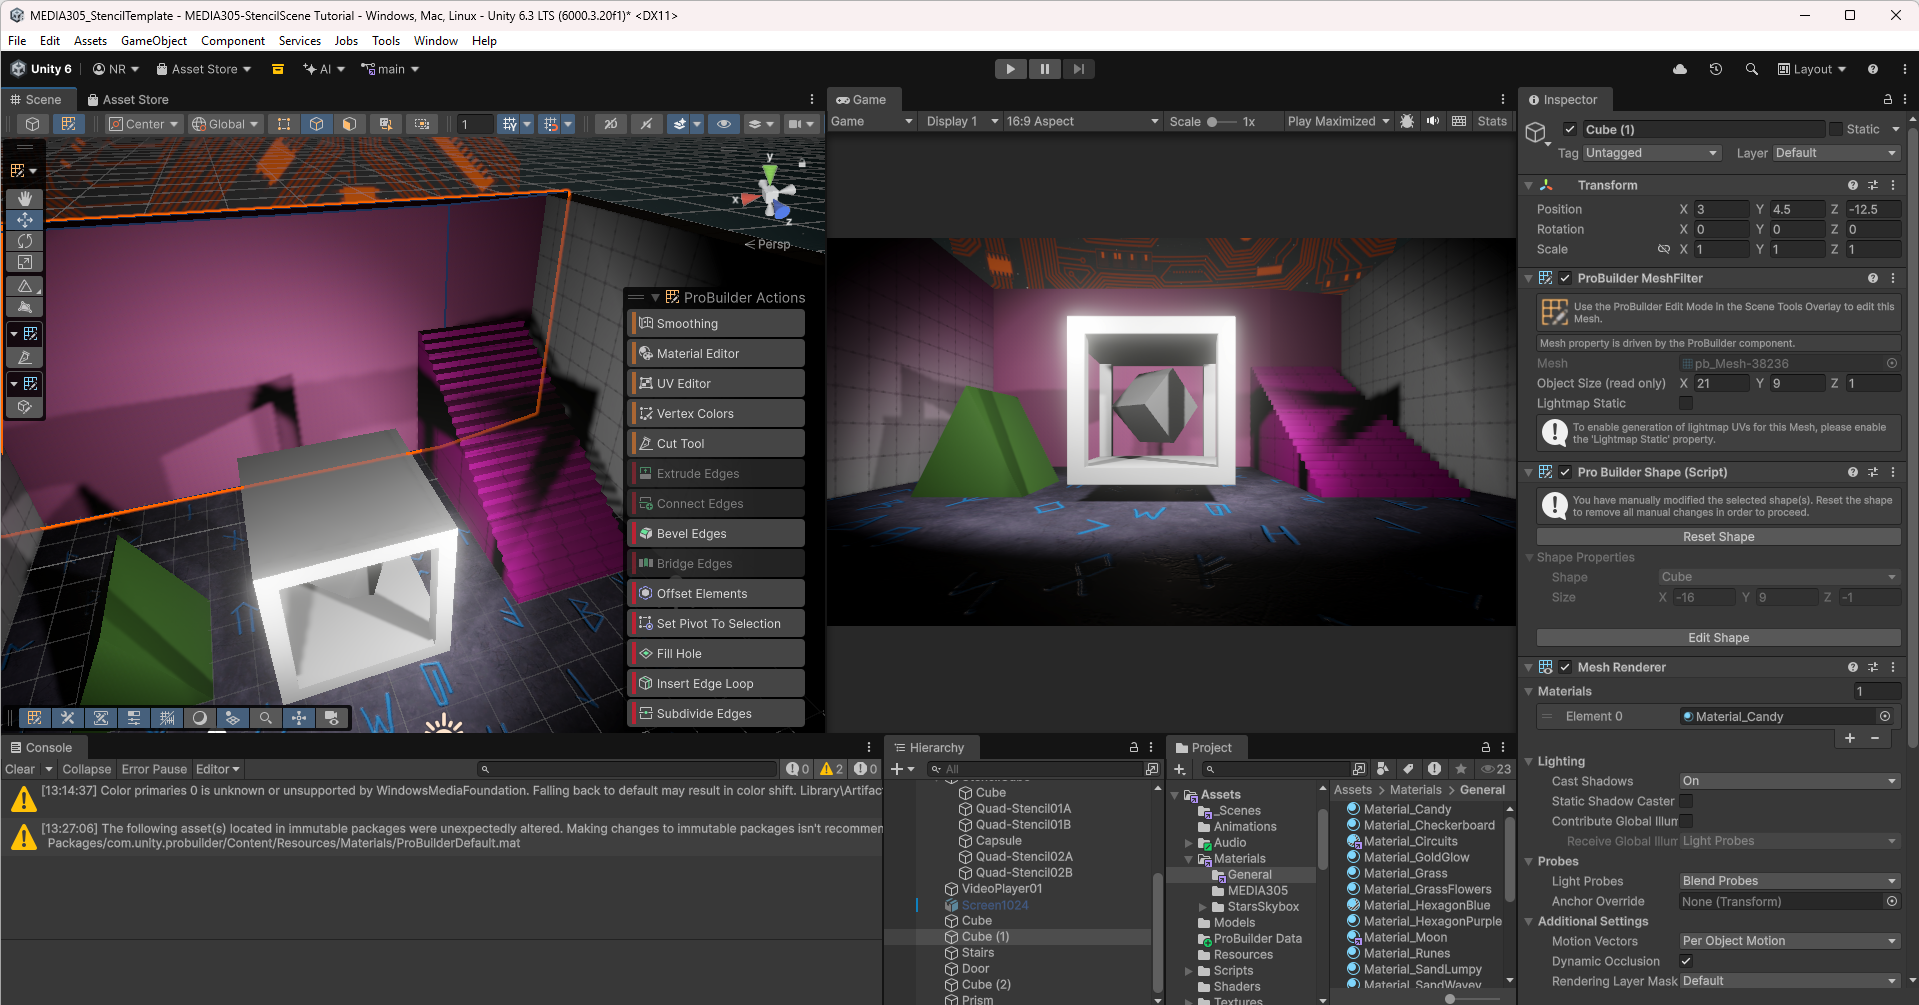
In this week's tutorial, I started with a catch-up on video projection that I missed out on previously. It was great to learn how to project a video onto different surfaces in Unity. The first six pictures above in the carousel show my progression from placing a video in the background, to on the cube, and finally on a flexible mesh screen.
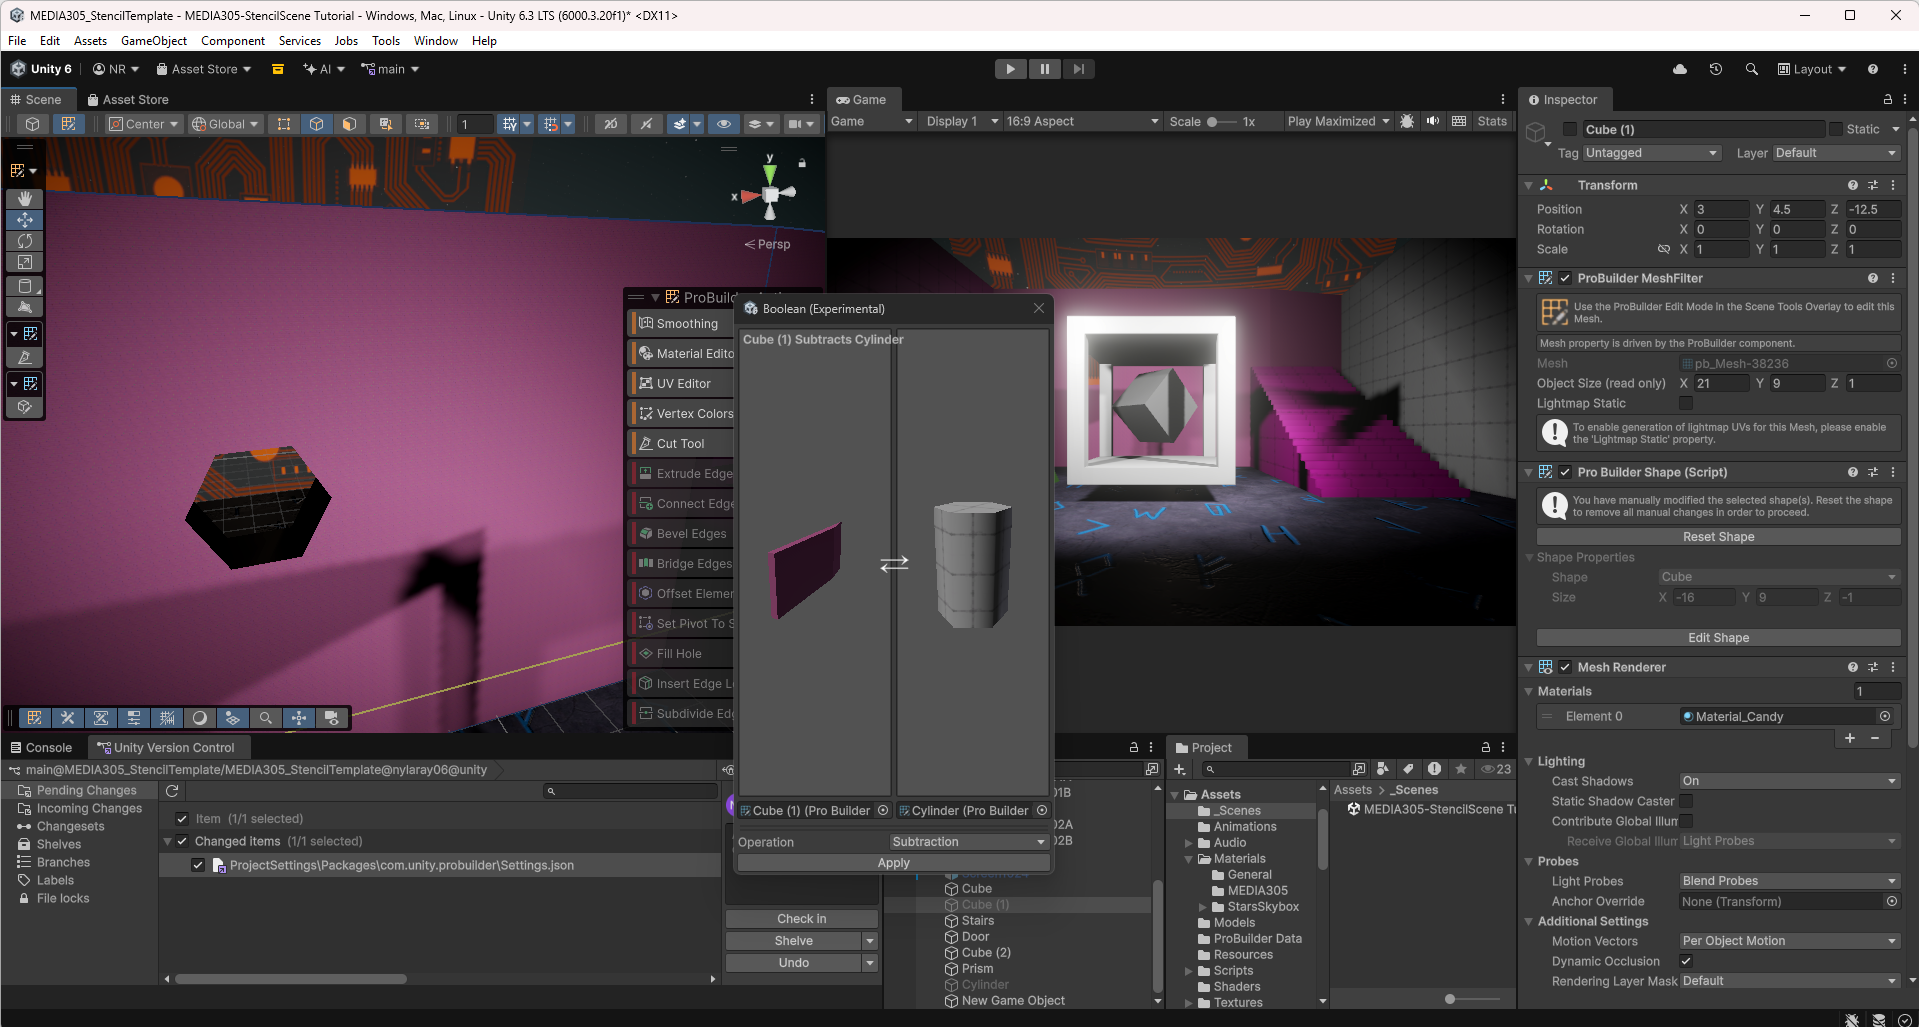
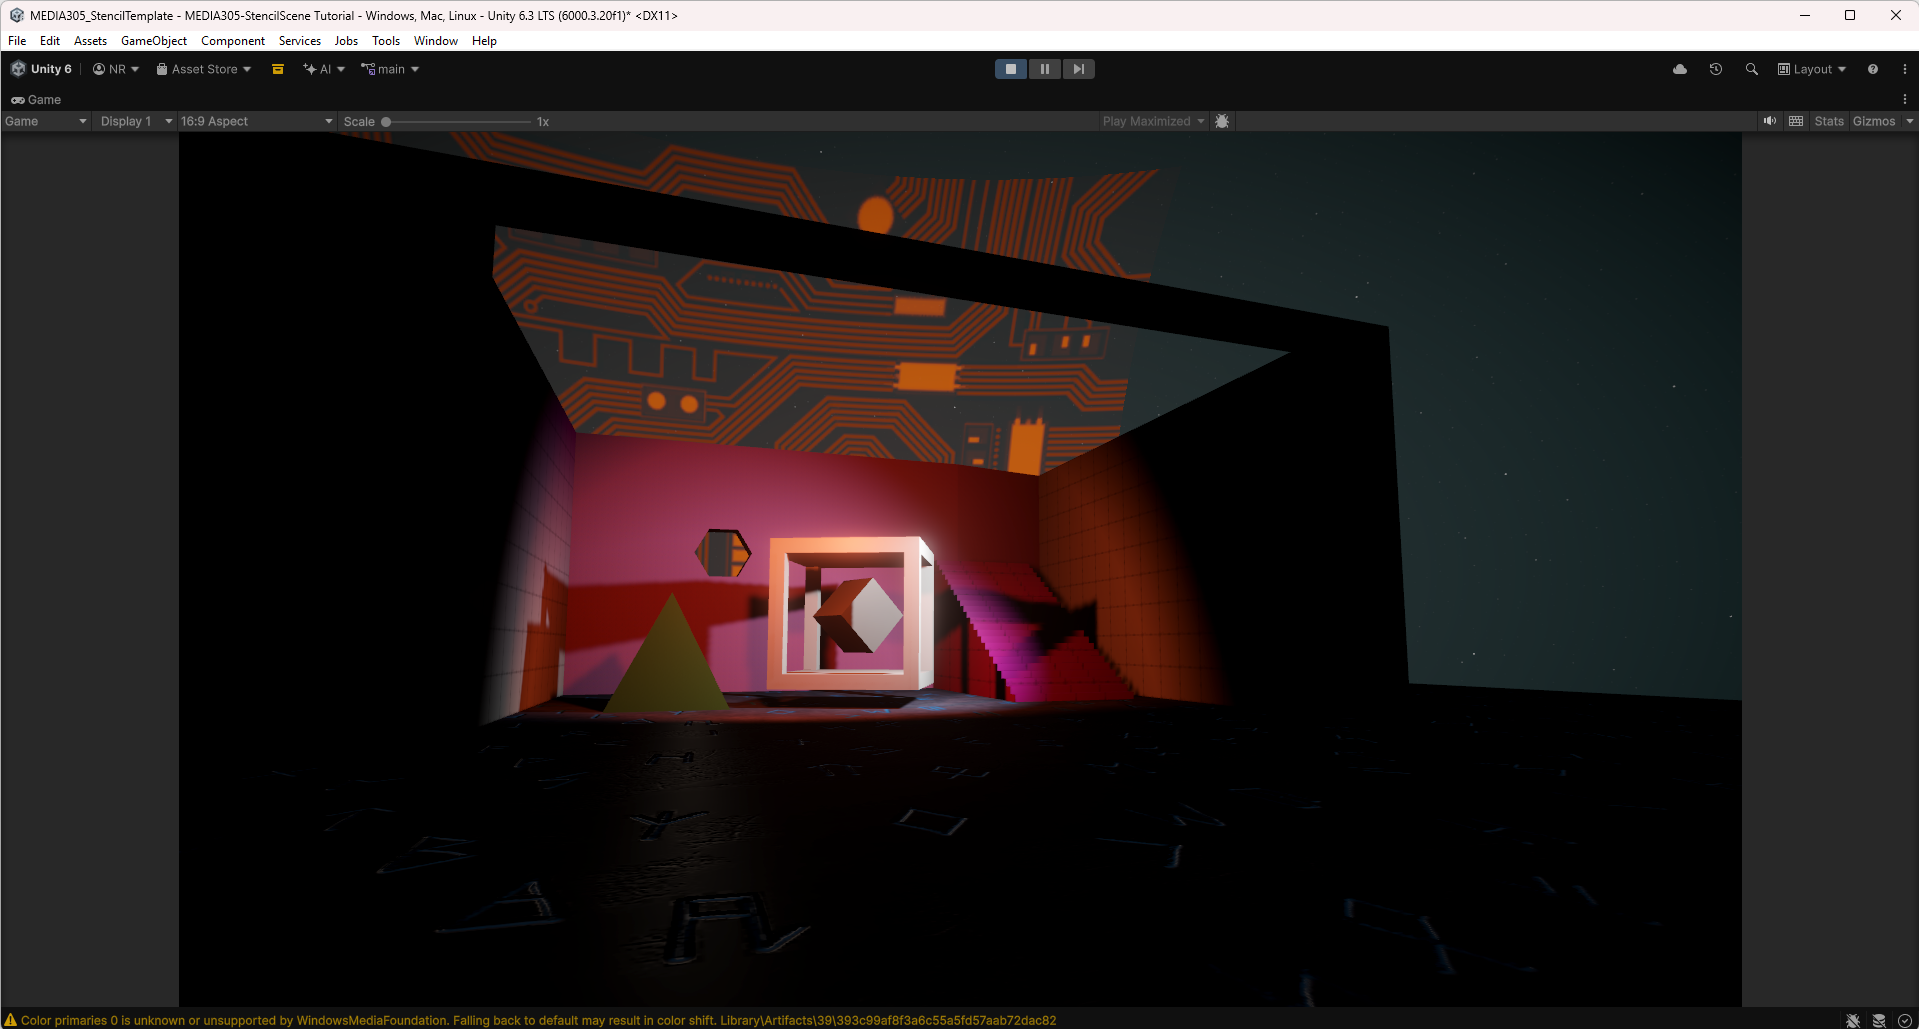
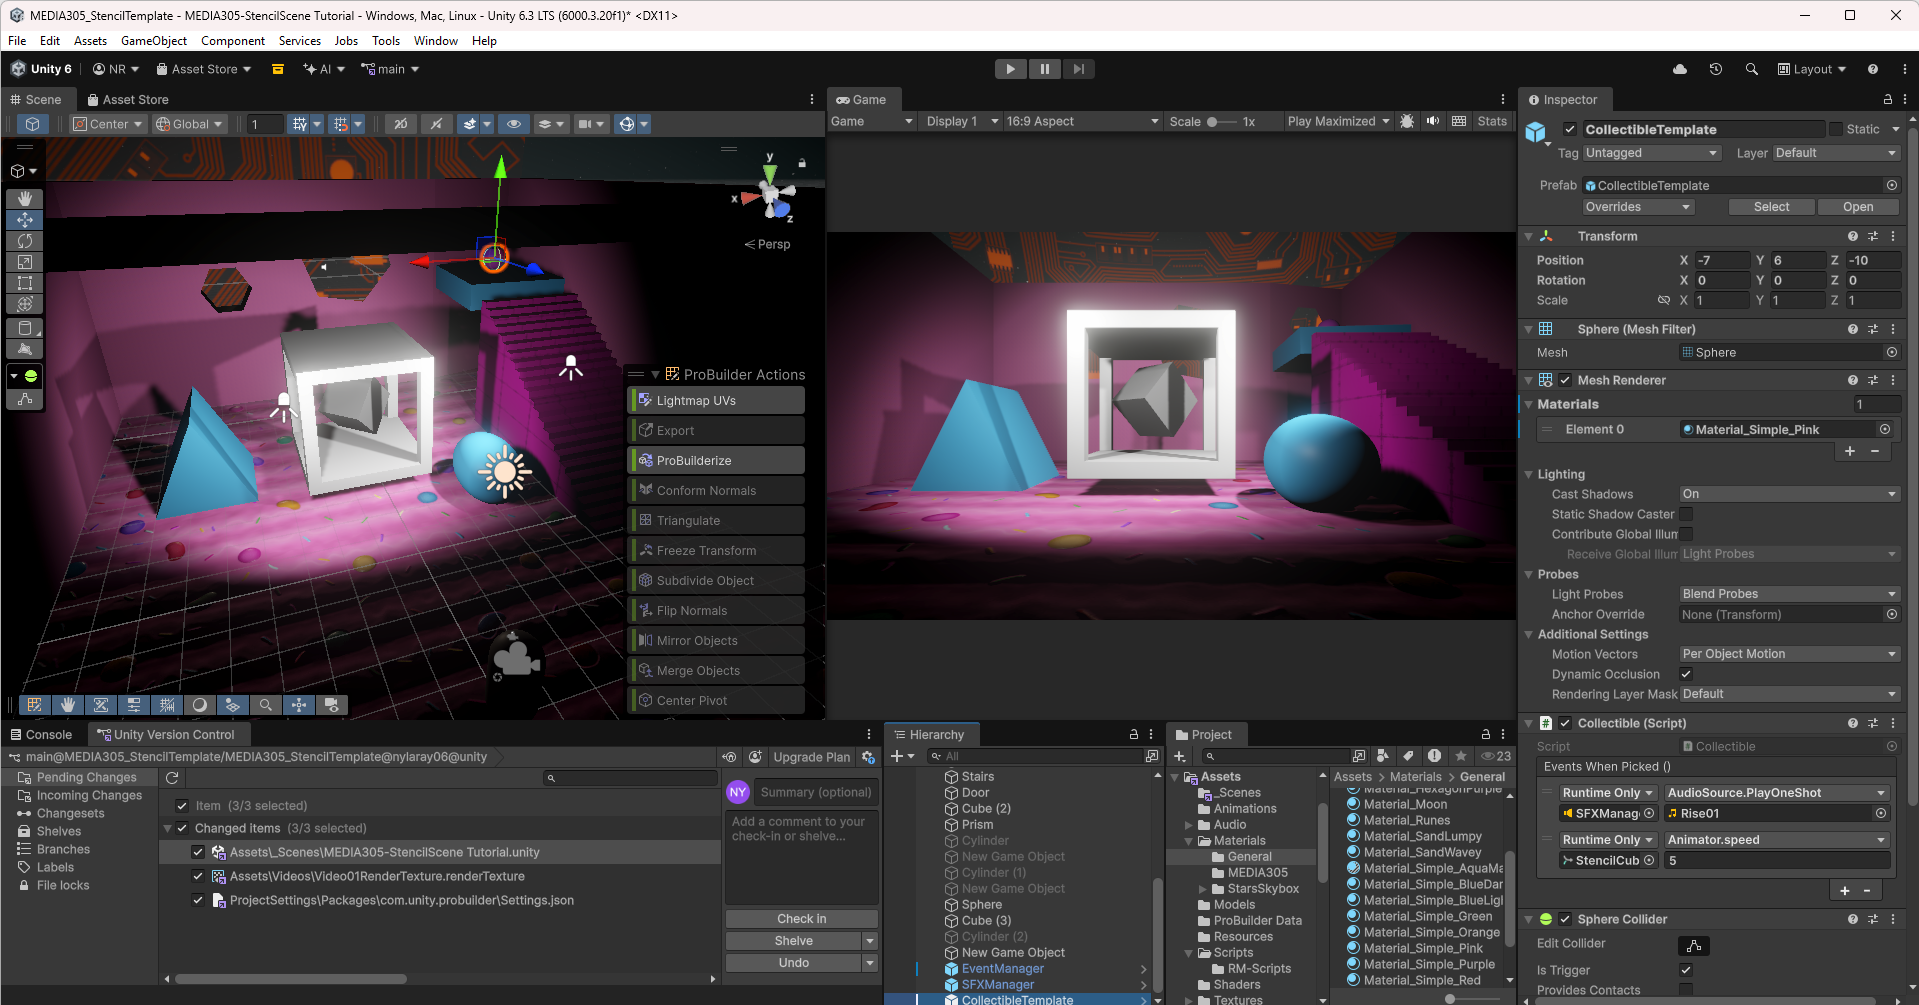
Then, I moved into learning about ProBuilder. I learnt how to add a snapping grid and create basic shapes, then applied colours and materials to them, and then I learnt how to use the Boolean experimental operation to create openings and windows in my shapes. Once I had understood these skills, I was able to experiment with my own creativity within this space. I already had an initial structure based on what I had learnt from Raphael's video tutorials, so I decided to add in my own elements and appearances to customise it. I used the 'create cube' tool to create three tall square shapes for walls around my stencil cube, then I used the 'create stairs' tool to add in stairs. Next, I experimented with the 'create sphere' tool and the 'create prism' tool to fill up my room. To enclose my room but keep an entry point, I used the 'create door' tool to add a large framed entryway. Finally, I added a platform at the top of my stairs using the 'create cube' tool to create a second level. I then added three windows to the back wall using the 'create cylinder' tool and 'Boolean operation'. I also wanted to alter the appearance of the objects in my space to feel more like my own. I love pink, so I went ahead and coloured most objects pink/put the candy material on some too. I also projected a video onto my stencil cube and made some elements (like my sphere and prism) blue to match the stencil cube; this way, my whole space felt cohesive. Finally, I added an event to my space using a collectable sphere at the top of my staircase to start my stencil cube to spin. If a player walked up to the platform at the top of the staircase, they could collide with the sphere, hear a 'collision' sound, and make the stencil cube start to spin (see the video attached for further context). I find that these types of interactive events make my Unity space turn into a place!
I loved the freedom that ProBuilder allowed me to have when constructing in Unity. My biggest challenge during this tutorial was figuring out that for the subtraction in the Boolean operation to work, you must deactivate the two elements you are colliding. However, once I figured this out, I actually ended up enjoying this subtraction operation the most! It sparked my imagination and inspired me to think of different types of windows in places I could create in the future!
MEDIA305 Diary
More posts
- VFX in Unity22 days ago
- Experimenting With Events48 days ago
- Animation & Antichamber-inspired Cube58 days ago
- Getting Started On Unity64 days ago